DIY tricks and tips and the whole do-it-yourself scene have long since ceased to be a fad. Not a trend that will soon be replaced by a new highlight.
Whether in the house, in the flat or in the garden repairs or renewals are pending, the bath or the kitchen in the new gloss should shine, perhaps an improvement of the thermal insulation of the house is necessary, for this or similar work you do not need to order necessarily expensive skilled workers more.
With some DIY tricks and above all with the right tools, you can do various jobs yourself. There are numerous specialist books and pages on the Internet that explain step by step exactly how to carry out the most diverse jobs. This is also good, but unfortunately, one important detail is forgotten: the right tool!
DIY tricks: The right brush
When buying your tool, be sure to focus on quality. An old proverb says: “Who buys cheap, buys double”. This saying is more relevant today than ever. Why not take a conscious walk through your city? You will be surprised how many cheap shops you want to win as a customer with colorful displays.
These shops have quite your authorization. A cleaning cloth, a decoration for the birthday party or candles you can buy without problems very favorably. But with your tools and your garden tools, you should decide for qualitatively high-quality, although perhaps expensive products.
How unfortunate would it be, for example, if your new, perhaps very expensive tiles would break because you work with a too cheap tile cutter?
Even a simple brush to repaint your garden bench can determine whether the result of your work is good or bad. If your brush suffers from hair breakage, it will lose its bristles and you will not be able to achieve an even and smooth lacquer surface.
Also, make sure that you never dip the brush into the varnish or paint until it is metal bound, but only to a maximum of half the bristle length.
Important when buying a brush is the cut of the bristles. Only with precisely cut bristles can you apply paints and varnishes evenly.
Brittle and fringed brush hairs leave behind a stripy layer of color as well as the hair itself.
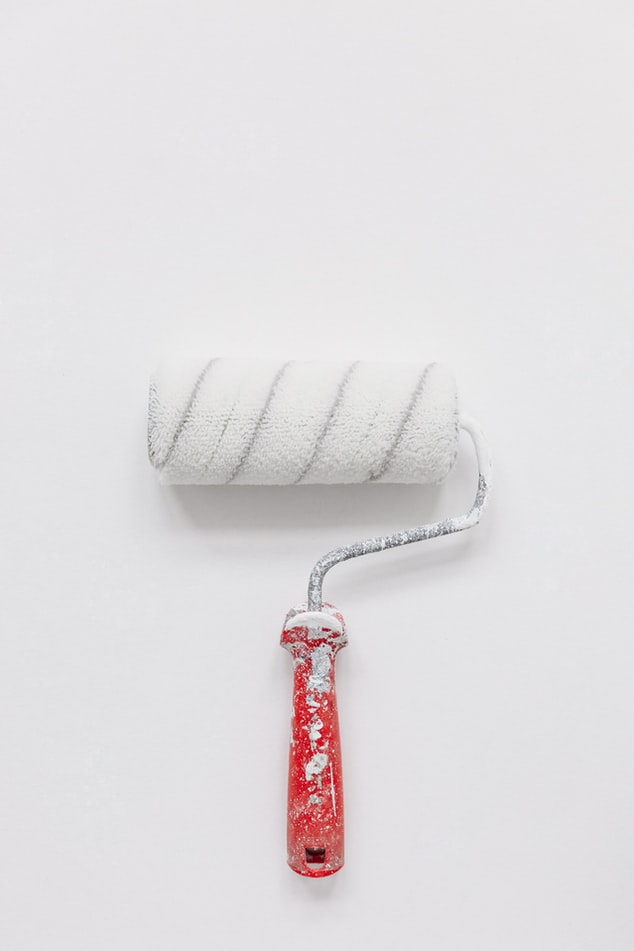
The paint roller is not the same as color roller
Every craftsman has several foam rolls. Large ones, when the whole room is repainted, foam rollers with adjustable telescopic rods for the ceiling or high rooms or the very small ones with which doors, windows or furniture are repainted.
Of course, every hobby craftsman makes sure that the rollers are thoroughly cleaned after use so that they can be reused. But it would be better if you already considered the following points when buying these practical aids:
You can tell the quality of the foam roll from the outside of the roll. The finer the pores of the foam, the smoother the lacquer surface will be. Always opt for rounded ends to reduce the formation of stripes between the individual strips.
Even if you have to pay a few euros more, the extra price is definitely worth it. Wear tests have shown that good rolls last much longer than expected, up to 50,000 rolls. Cheap foam rolls can’t keep up with this and the proverb “If you buy cheap, you buy twice” is confirmed again.
DIY Tricks: The Right Cleaning
It is not only the quality that determines the service life of your tool, but also the correct care. Correct cleaning considerably increases the service life of your tools.
So don’t save your time in the wrong place. You only need to get used to cleaning immediately after use as DIY tricks:
- Brushes are easy to clean after using water-soluble paints. All you have to do is paint the brush. Newsprint is well suited for this.
- Then rinse the brush thoroughly under the water without soap.
- For storage, place the brush upside down in a glass of linseed oil.
- It is important that the paint does not dry. If you interrupt work for a short time, wrap a plastic bag around the paint roller.
DIY Tricks: Faster and Easier Painting
It takes too long to paint with a brush? It is faster and easier with the spray paint. But there are important points to consider here as well:
Before use, you really have to shake the spray can well. This is the only way for the pigments to mix.
Spray parallel to the workpiece from a distance of around 30 centimeters. Always ventilate well when spraying. It would be even better if you spray outdoors.
Wear a breathing mask during the spraying process and cover the surroundings well, as spray mist is created.
