You’ve probably found yourself scrolling through social media, admiring influencers flaunting perfect lashes, and wondered how they do it. The rise of DIY beauty techniques, especially lash enhancement, has been nothing short of spectacular. And for good reasons, learning how to apply DIY lash extensions at home has become a sought-after skill.
Not only can it save you a lot of time and money, but it also allows you to tailor your look exactly how you want it.
Think about it: no more rush appointments, no more one-look-fits-all scenarios. You can adjust your lashes to your mood, your outfit, or even the weather! Ready to take the reins and elevate your look? Then you’re in the right place. Let’s dive in and unveil the secrets of DIY lash perfection.
Understanding Your Lashes
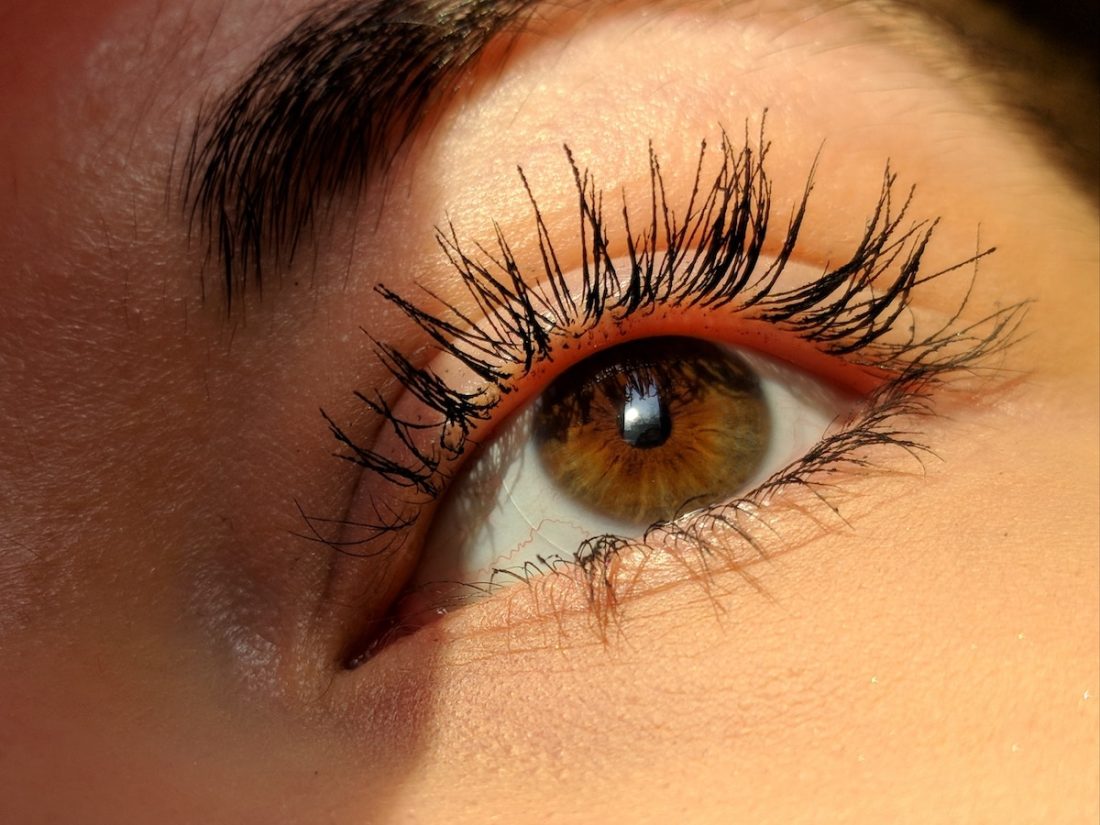
Much like hair, everyone’s lashes are unique. They differ in length, thickness, density, and curliness. However, every lash type has its beauty and can be enhanced to perfection with the right techniques.
First things first, you need to get familiar with your lash type. Is it straight, curly, long, short, dense, or sparse? Understanding your lash type is a fundamental step because it helps you decide which lash enhancement techniques will suit you best.
For instance, those with shorter lashes might benefit more from applying eyelash extensions, while those with straight lashes might need a quality lash curler to achieve that captivating curl.
So what do you need?
Tools of the Trade
Lash enhancement isn’t just about applying mascara or extensions; there’s more to it. Proper tools can turn a good lash day into a fantastic lash day.
A lash curler, for example, is an absolute must-have. It works wonders in opening up your eyes by curling the lashes upwards. For those with straight lashes, a heated lash curler might be your new best friend, providing that extra lift and curl.
Next is a lash comb or brush, perfect for separating lashes and removing clumps after applying mascara. Nobody wants the dreaded spider lashes look! A lash comb keeps your lashes looking clean, separated, and well-defined.
Last but not least, a good quality lash adhesive and a pair of tweezers are essential if you’re planning on DIY lash extensions. These will ensure your lash extensions stay in place all day long.
Preparing Your Lashes
Now that you’re familiar with your lash type and have your toolkit ready, the next step is to prepare your lashes for enhancement. This is an often overlooked but crucial step in the process. Clean and well-prepped lashes can hold the curl better and allow the extensions to adhere properly.
Start with clean, oil-free lashes. You can clean your lashes with a gentle makeup remover or a lash shampoo. If you wear makeup, remove it thoroughly before you begin. This is crucial as any leftover makeup can interfere with your lash curler, causing your lashes to clump together.
Next, you should dry your lashes completely. Any leftover moisture can also affect how well your lashes hold the curl. You can simply air-dry them or use a clean, lint-free towel. Be gentle, though. Your lashes are delicate, and rough handling can cause lash loss.
Finally, comb through your lashes with a lash comb. This will separate your lashes, ensuring each lash gets its share of the curl.
Mastering the Art of Curling
The key to dreamy, wide-awake eyes? Perfectly curled lashes! Curling your lashes can dramatically elevate your look, and the good news is, it’s pretty simple to achieve.
Start at the base of your lashes. Get as close as you can to your lash line without pinching your skin. This is where the lash curler comes in. Once you have the curler in position, squeeze gently. Apply just enough pressure to bend your lashes upwards without crimping them.
Now, here’s a pro tip: don’t just clamp and release. For that perfect, lasting curl, move the curler up toward the tip of your lashes and clamp again. This will create a nice, natural-looking curl rather than a harsh bend.
Elevating Your Look with Eyelash Extensions
If you have shorter lashes or are looking to achieve a more dramatic look, false lashes can be a game changer. With a range of options from natural-looking to high-drama, lash extensions can truly elevate your look to new heights.
Applying eyelash extensions at home might seem intimidating at first, but with a little practice, you’ll be a pro in no time.
First, you need to choose the right lash style for you. Natural styles can add length and volume to your lashes, while more dramatic styles can add extra flair for a night out or a special event.
Next, make sure your false lashes are the right size. Hold the lash strip against your eyelid and trim any excess from the outer edge. This ensures the lashes fit comfortably on your eyelid and don’t cause any irritation.
Then, apply your lashes. Start by applying a thin layer of lash glue to the lash strip. Let it dry for about 30 seconds until it becomes tacky. This is key to getting your lashes to stick properly.
Using your fingers or tweezers, carefully place the lash strip onto your lash line, starting from the inner corner of your eye. Once in place, gently press along the lash line to secure it. Give it a few seconds to dry completely.
Remember, practice makes perfect. It might take a few tries to get the hang of it, but once you do, you’ll love the instant lift and drama false lashes add to your look.