For someone who has had years of experience in cleaning studio recording equipment, one may have thought that I know everything about it. Well, I am still learning. However, I did acquire the basic knowledge of what works and what doesn’t when it comes to cleaning equipment.
If you have ever been in an underground audio recording studio, you would know that there are so many pieces of equipment out there that it will take a long time if one wants to master the proper art of cleaning all of these.
The good news is that I can provide to you some of the cleaning basics. You can use this article as a guide when cleaning your recording equipment. Now, let’s start with something simple.
The Art of Equipment Cleaning
Here’s the most important tip that you will get from this article: know your equipment. If you are planning to clean your recording equipment, know how they work as it can greatly help you with its cleaning process.
The growth stages of an audio recording studio start with what is known as a bedroom studio. It moves up to a dedicated home studio, a semi-pro studio, and finally, a pro studio. Each setup is different, but most of the time, these studios have similar recording equipment.
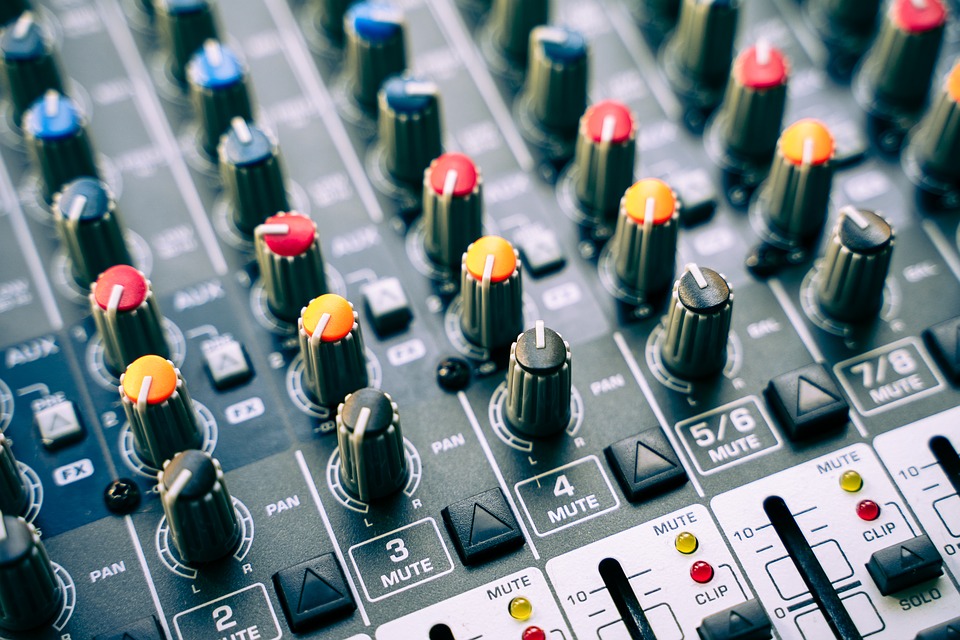
These pieces of equipment include headphones, microphones, microphone stands, studio monitors, a digital audio workstation (DAW), audio interface, and so on.
While all of these may be a lot to take in, fret not. I took the tedious task of gathering up everything that I know when it comes to cleaning these pieces of recording equipment, and have summarized everything into this short but complete guide.
Here are ten ways of cleaning your recording equipment:
Use a microfiber towel
The best tip I can give you is to always use a microfiber towel. A clean, lint-free, and dry microfiber towel can be used to handle most of the dust issues on your recording equipment. Even with very delicate screens, you can rest assured that this type of towel will not cause damage.
Use regular household grade isopropyl alcohol
On another note, there may be cables that needed cleaning. Of course, you cannot only use a dry microfiber towel with this. You’re going to need a household grade isopropyl alcohol to truly clean these cables up. What’s great about this is that having too much will not affect the sound of your equipment.
Put away your microphone when it’s not in use
If you want to keep your equipment, especially your microphone, free from moisture, it is best to put them away whenever they are not in use. You can also use the fitted case it comes with so that it can effectively wick moisture away from the microphone.
Invest in silica gel packets
If in case, the inside of your microphone case is plastic or if it’s just a vinyl zipper case, do not use it. Instead, invest in silica gel packets. These are great with absorbing the moisture from your electronic pieces of equipment, shoes, and other products.
Let your equipment dry first
In the event that your microphone has already absorbed some level of moisture, try to place it in a clean and dry place. You may need to wait it out before using the microphone again. While the silica gel packets are used to absorb the moisture, letting your equipment dry for a few hours before using it can help prevent damage.
Invest in a terminal cleaner and enhancer
Moisture is a critical factor that may lead to corrosion. With that in mind, it is best to prevent the accumulation of moisture as early as possible. If your metal terminals and XLR cables have already been exposed, then try utilizing a terminal cleaner and enhancer to maintain its optimum signal quality.
Perform monthly cleaning
Cleaning your recording equipment is more than just the tools and products you use, it is also about the regularity of your cleaning process. At most, I highly advise cleaning your recording equipment once a month. Of course, this may vary, especially if you live in a particularly humid location.
Pay attention to the description of your cleaning products
As explained earlier, you should be familiar with your recording equipment to be able to clean it well. Furthermore, you should also know what your cleaning products are made of, to ensure that they are safe to use on certain equipment.
For example, if you purchase a bottle of contact cleaner, it would be best to go for something that is safe to use on plastic. There are numerous types of contact cleaners and what you need is a product that can dissolve corrosion on metal pieces of equipment.
Opt for cleaning products that are quick-drying and no-residue application
Remember, when cleaning a piece of recording equipment, there are certain areas that you cannot clean. Most of the time, you are only limited to cleaning the exterior parts. Thus, when you buy a contact cleaner, go for something that has quick-drying features or no-residue application. This is because you won’t be able to wipe clean most of the internal components.
Read and understand all the labels
This is a pretty obvious tip. Even when you are cleaning other technical equipment, reading and understanding the labels on the products are crucial. You wouldn’t want to make the mistake of destroying or damaging the equipment just because you were careless in selecting your cleaning materials.
Final Thoughts
These are just some of the basic facts that I have learned over the past years. When you are cleaning your recording equipment, always use your common sense. Be sure that the cleaning product is compatible with the recording equipment.
Furthermore, before cleaning any equipment, you have to unplug it, this is Electrical Safety 101. Remember, your safety comes first. It is crucial to go about the preliminary steps to ensure that you are not putting yourself in danger.
In the end, I hope that this article was able to shed some light on questions and confusions regarding cleaning various recording pieces of equipment.